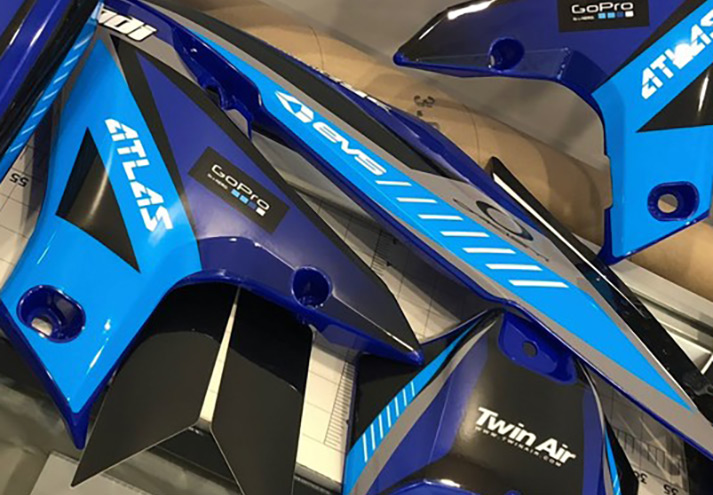
1. Prepare a spray bottle with solution to install your kit. Mix a one quart spray bottle with warm water and a half teaspoon of dish soap. If available, you can add one teaspoon of alcohol to this solution to help the water/soap solution dry out more quickly.
2. Remove any existing decals to prepare for installation. Be sure that all of the glue has been removed prior to moving to step three. Remember, a properly prepared surface will result in a perfect final product.
3. Make sure that you have your entire work area clean and free of any wax or grease. Use a mild alcohol/water solution to clean all surfaces to ensure proper adhesion. Test a small area to be sure that the solution does not damage your plastics.
4. Carefully remove your new kit from its package and identify where each piece will be placed. Layout each side and choose where you would like to begin.
5. Spray the entire first panel with the solution that you made in step one. Next, peel the backing from the corresponding decal and spay the sticky side with the same solution.
6. Place the decal onto the panel making sure to align two opposite corners with their appropriate positions.
7. Use the rubber squeegee and start pressing the decal tight by starting from the center and moving outward. You can wet the outside of the decal to help the squeegee slide more easily. Make sure not to wrinkle the decal. Take your time, pressing down small areas at a time. You can also use a towel to press the decal on. Once one area is bubble-free, you can continue on. Dry the areas around the decal to help it adhere.
8. Use a heat gun or hair dryer to carefully heat the decal to smooth out any wrinkles and help it stick. Remember, the water solution has to dry out to the decal to adhere properly.
9. Continue steps 5-8 for each panel until you are done. Once completed, leave it sit overnight and re-check all of your edges and corners. If any are lifted, press them down firmly before using.
You must allow at least 24 hours to dry before using.
ENJOY!

